
Because everyone complains about the blues on the first day of the week, I've decided to combat it with something cheerful and sweet. So here goes:


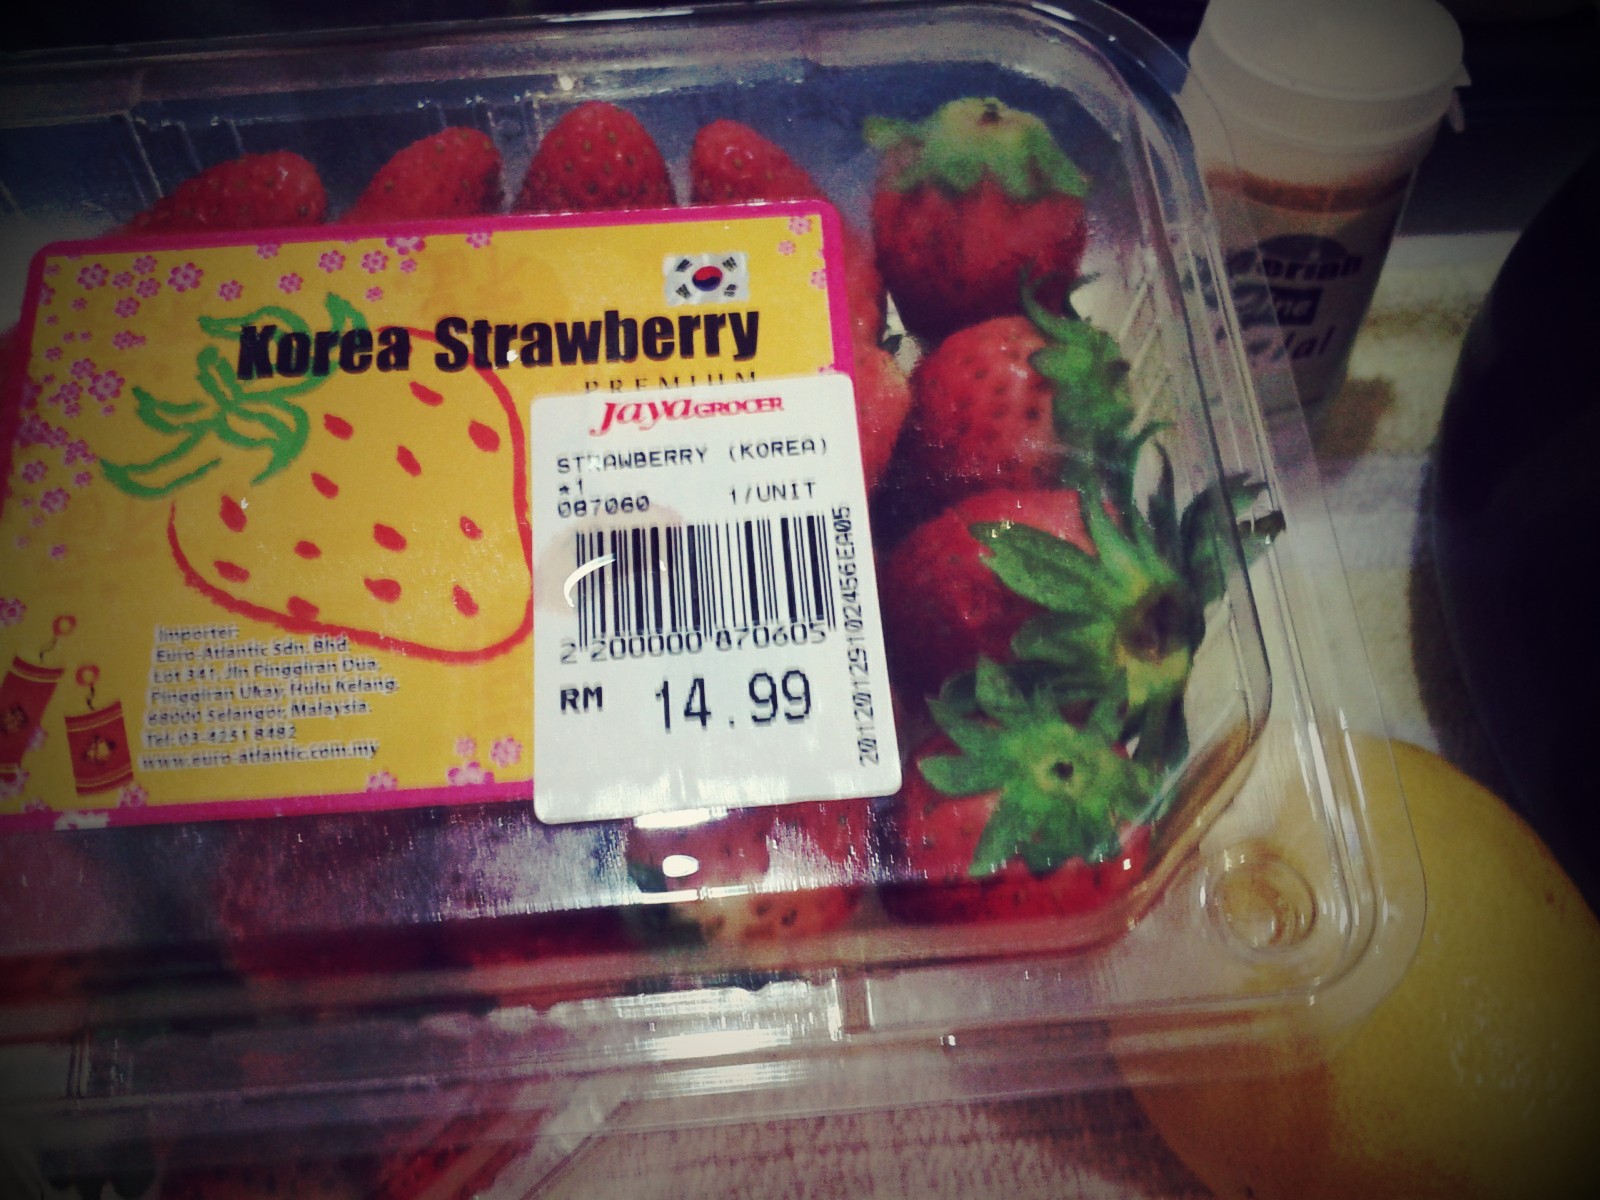
First you need some strawberries, a lemon, some gelatine and sugar. I wish I bought 'riper' sort of strawberries which are also more reddish than these ones. Cause it really does give a better colour to your jam. If your strawberries look like these, your jam will turn out to be more pinkish than red. And in case if you don't already know, red (or the same family) is the colour that makes all food look more delicious (hence, most food brand logos have some kind of red). So, ya try to find 'redder' strawberries if you know what I mean :)

And then you squeeze a lemon into a bowl. You probably only need to use 1 or 2 tablespoons of lemon, depending on your personal taste. I used 2 tablespoons to a mountainful bowl of sliced strawberries, but I would have taken it a notch down still. Maybe 1 and half would have been sufficient. Don't forget that strawberries have their natural sweetness and sourness too!

Add strawberries, lemon juice and sugar (I used half a small bowl - which is already too sweet for me!) into a pot or saucepan and cook em' strawberries, mash em' strawberries, stir em' strawberries till they are mushy and gooey like the picture below. Keep stirring cause you don't want it to burn. Best result using non-stick pot/pan otherwise good luck in your aftermath. While you have one hand stirring the pot, you need to use the other hand to prepare the gelatin mixture. Pour 1 tablespoon of gelatin into a bowl, add cold water, mix em' and let stand still for about 1 minute before adding into the pot, stirring constantly. Oh yea, pretty much like a kitchen circus - two hands motion. Reminds me of Karate Kid - wax on, wax off, wax on, wax off. Hehe.

When everything is well-mixed, bring to boil and turn off the gas. Let the jam sit for about 5 minutes and scoop away the foam on the top. Once it's cooled down a little, you can fill em' into little jars :)

MMM MMM MMM :)~

See, I bet if I used riper or more reddish fruits, it'd look even more enticing.

My jars didn't have a cover. So what I did was to wrap once with cling wrap and secure with a rubber band. Then used some pretty origami paper (cut to perfect size) as a cover. If it's homemade, it cannot not have a cottony sort of ribbon right?

TADA! できたよ!

Once the jars cooled down, you can then put them in your fridge and the gelatin will harden and you'll have a jelly texture! If you prefer compote sort, then forget about the gelatin.

I tried. It tastes like... strawberry jam. Hehe. Sweet and sourish. It's my first time so, to be honest, I don't know how well I fared. I made peach jam before when I lived in Japan and that was absolutely yummy! Well, I only have two jars, so if you want one just let me know.

The entire procedure took me 2 hours which trust me, I spent MORE time decorating the jars than really cooking it. So be encouraged, it's really not that difficult and can actually be really fun. And nothing beats the satisfaction of looking at your end product :)
Though I have to say, a jar of jam outside costs less than 5 bucks and I think I spent 30 plus on the ingredients. Economically speaking, it may not be the best viable option if you treat strawberry jam as a commodity. But for your family to eat healthier (no preservatives) *ting*, to enjoy creating something out of love *ting*, to de-stress yourself from work (or any other stress inducing situation) *ting* and to be able to share this with others *ting* - now that's definitely worth more than RM5 ;)
Have fun boys and girls, have a jammy one! x
No comments:
Post a Comment